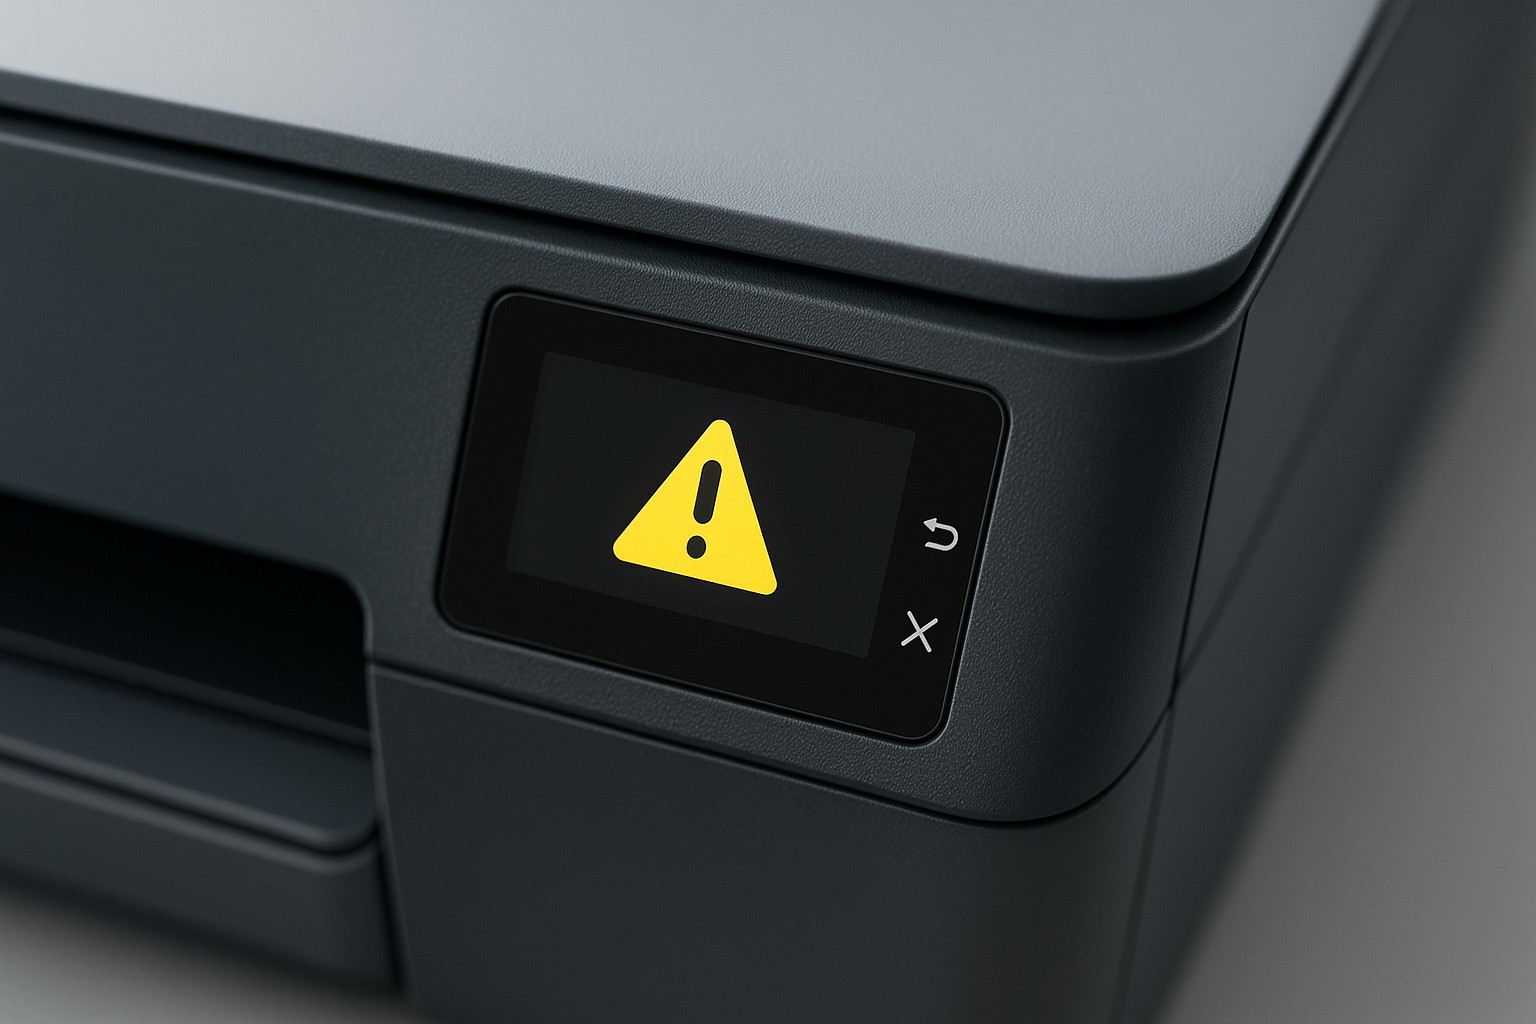
Can’t Add Printer on Mac
If your Mac cannot add a printer through System Settings, these steps will help you resolve the issue and install the device properly.
Step 1 – Remove stale printer entries
- Open System Settings, then select Printers & Scanners.
- Select any existing entries for your printer and click the minus (-) button to remove them.
- Close System Settings when finished.
Step 2 – Install the latest drivers
- Download the most recent macOS driver package for your printer model from the manufacturer’s support site.
- Run the installer and follow the prompts to install drivers and utilities.
- Restart your Mac to ensure the driver installation completes.
Step 3 – Add the printer again
- Return to System Settings > Printers & Scanners and click the plus (+) button.
- Select your printer from the list; if it doesn’t appear, click Add Printer, Scanner or Fax and enter its IP address.
- Choose the installed driver from the Use drop‑down menu, then click Add.
Step 4 – Restart the print system
- If the printer still won’t add, right‑click the device list and choose Reset printing system….
- This removes all printers and queues. Re‑add your printer after resetting.
For persistent issues, there may be a deeper macOS configuration problem. Our support team can assist you.